Last updated November 22, 2026
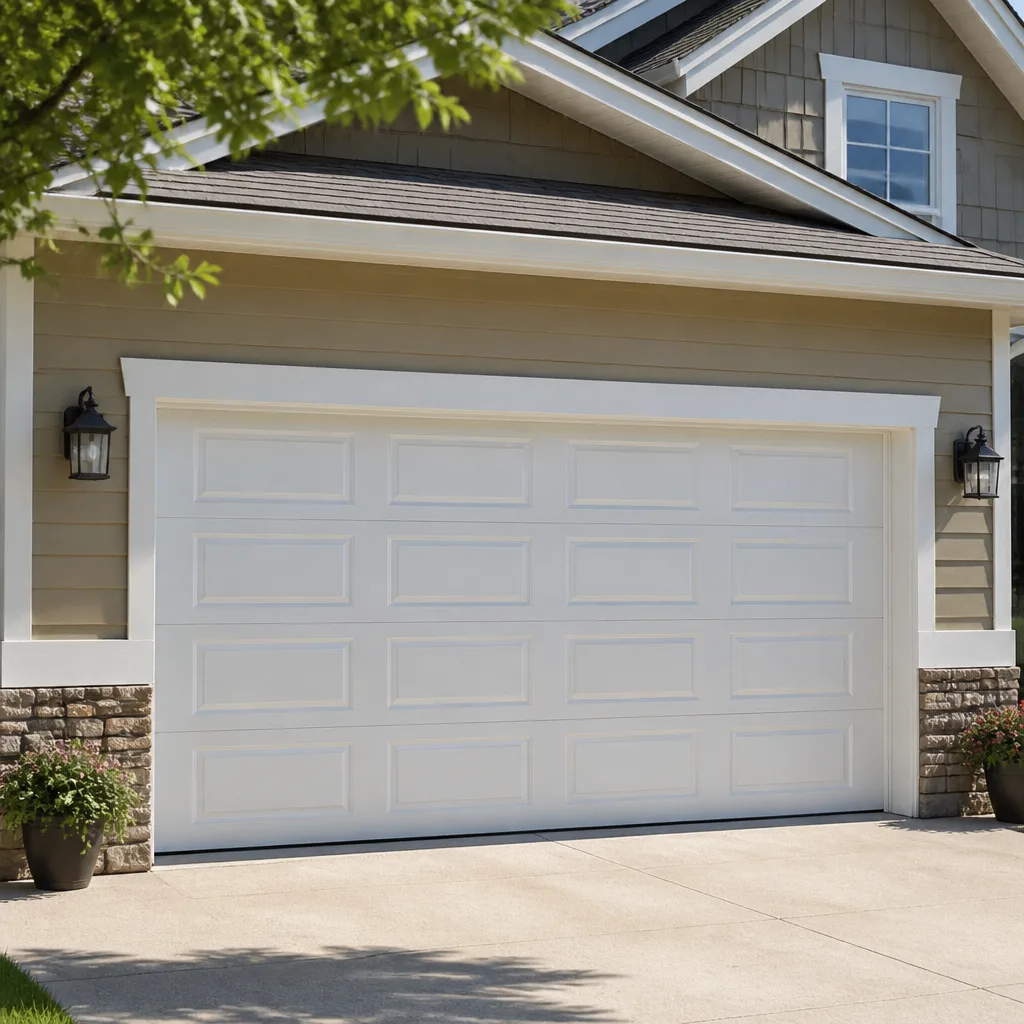 Raised-panel steel
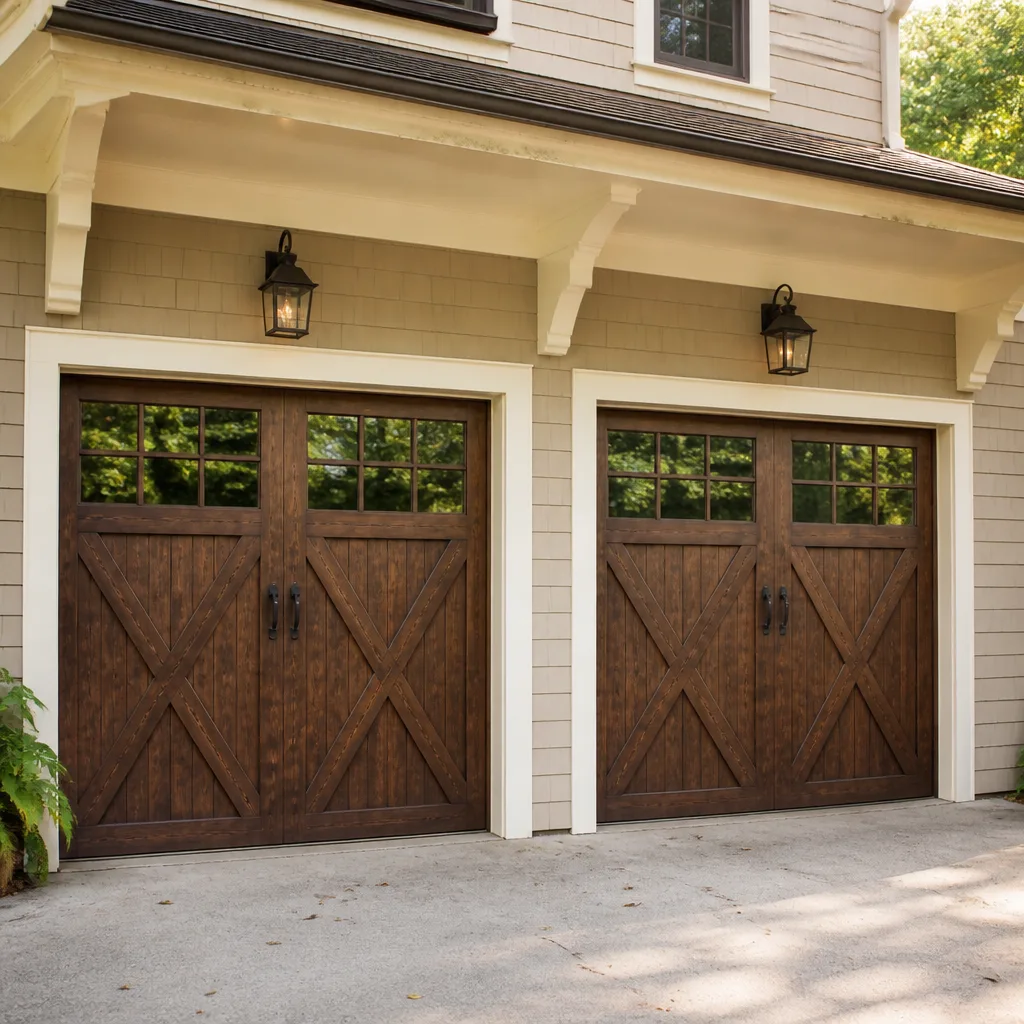 Carriage house
 Modern flush
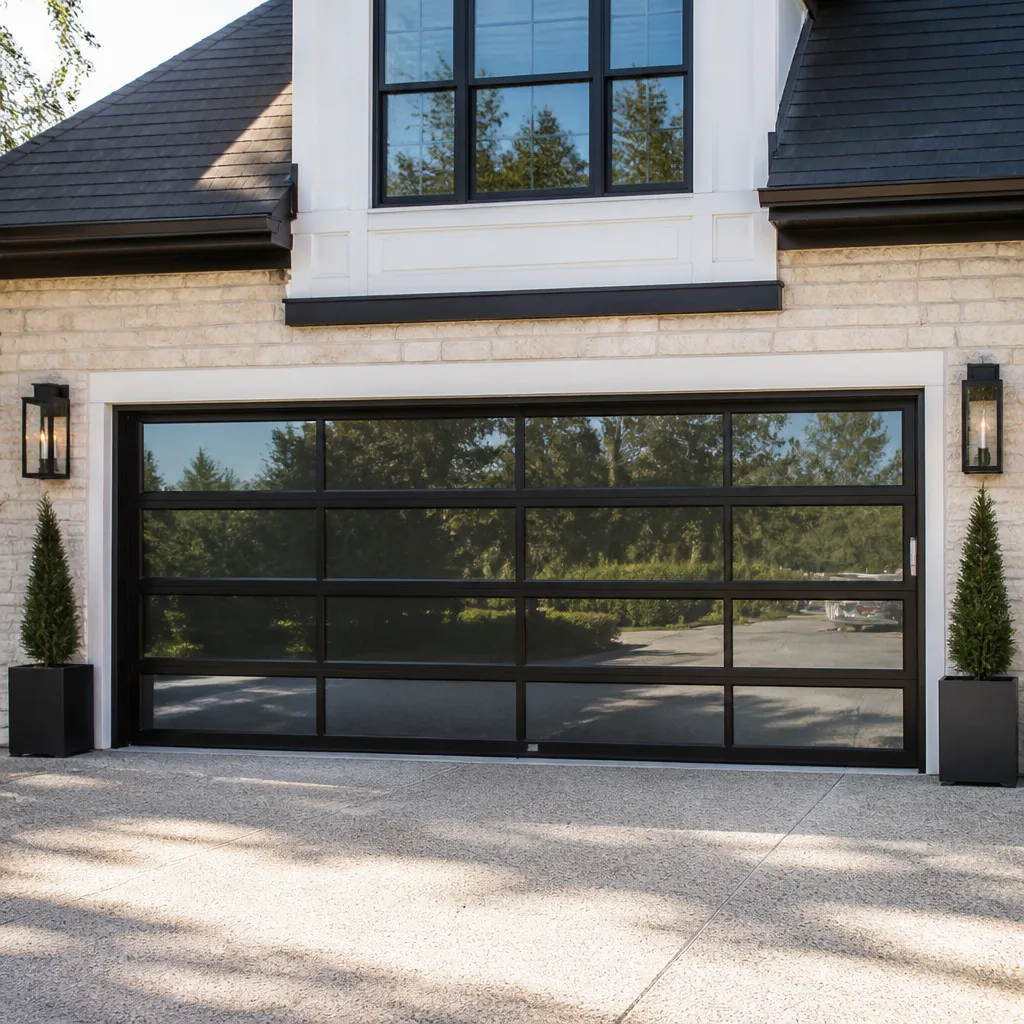 Full-view glass
 LiftMaster openers
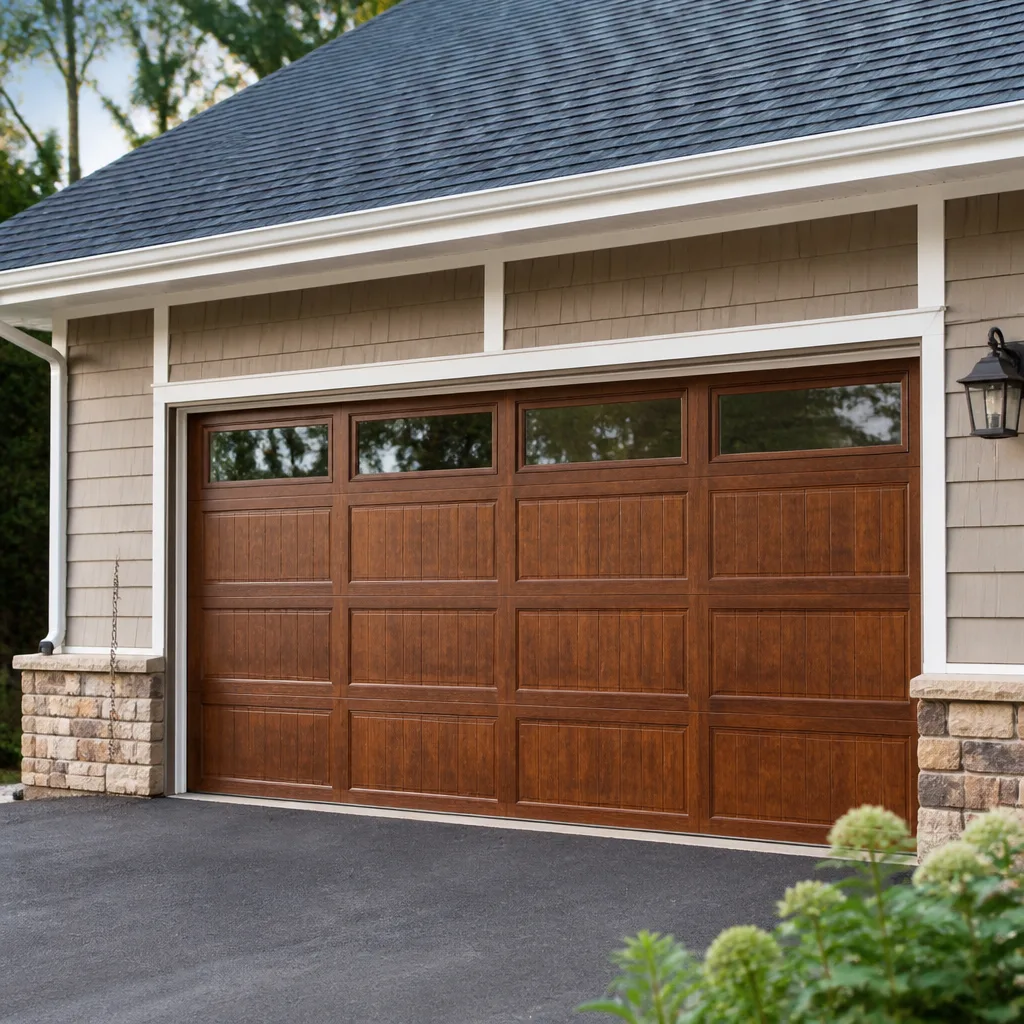 Chamberlain openers
Full 25-point door and opener safety check with every visit - springs, cables, rollers, tracks, and your LiftMaster or Chamberlain opener included
You get a price before we start. It does not change when the pro arrives.
Get your free estimateGarage Door Repair Maintenance Checklist for Wheaton Homeowners
Most garage door maintenance advice repeats the same short list of tasks: lubricate this, tighten that, test the safety reverse. But a 20-year-old Craftsman torsion system on a Wheaton home and a brand-new LiftMaster jackshaft opener on a newer build don’t fail the same way, and checking them against the same generic list wastes your time and misses the parts that actually strand you. The task most Wheaton homeowners skip isn’t lubrication. It’s checking the cable drum set screws on any system older than about 10 years, because a loose set screw causes the uneven lift that eventually snaps a cable on the coldest morning of the year. This guide organizes your checklist by system age and opener drive type, tells you which tasks are genuinely safe to do yourself, and flags the few that aren’t.
Quick Answer
Match your checklist to your system, not to a generic list. On a system under 5 years old, focus on lubrication, balance, and seal compression. On a system 10 to 15 years old, add cable drum set screws, roller wear, and spring tension checks. On anything over 20 years old, inspect hinges and bearings as well, and expect the opener’s logic board and drive gears to be the next weak points. Test balance once a season, adjust the weather seal when you see daylight at the bottom, and leave spring and cable work to a trained technician. Call (844) 789-3469 for a free estimate if anything looks tired.
Styles & brands we work with
- Raised-panel steel
- Carriage house
- Modern flush
- Full-view glass
- LiftMaster openers
- Chamberlain openers
Table of Contents
- Why Your Checklist Should Match Your System’s Age
- Checklist by Opener Drive Type: Chain, Belt, Screw, and Jackshaft
- Age-Specific Inspection Priorities
- How to Test Balance Correctly (and What the Tolerance Range Means)
- Seasonal Adjustments for Wheaton’s Temperature Swings
- Which Tasks Are DIY-Safe and Which Ones Aren’t
- Common Mistakes to Avoid
- When to Call a Professional
Why Your Checklist Should Match Your System’s Age
Garage door components wear on different timelines. Springs, which carry the door’s weight, are typically rated for a fixed number of open and close cycles, so a busy household reaches end-of-life on its springs far sooner than a household that opens the door twice a day. Cables and rollers wear based on friction and load. The opener’s drive gears and logic board wear based on operating time and electrical stress. That means a 5-year-old system and a 20-year-old system on the same street in Wheaton can have completely different priorities, and treating them the same is how homeowners end up replacing a part that was fine while a worn one goes unnoticed.
We work on systems across the whole range of ages, and the pattern is consistent: newer systems fail most often because of poor lubrication and unbalanced tension; mid-life systems fail because of worn rollers and loose set screws; older systems fail because of failing springs, seized bearings, and openers that are simply past their design life. Our technicians have up to 15 years of experience, and the system age is the first thing we ask about on a call, because it tells us where to look.
The practical takeaway is simple. Use the age bracket that fits your door as the starting point, then check the drive type section below to refine it. A Craftsman chain drive from the 2000s and a Genie belt drive from five years ago call for different inspection close-ups, even if they share a brand family. If you’ve already noticed the door fighting you, that’s a sign to stop and get it looked at rather than keep testing; our garage door repair service exists for exactly that situation.
Checklist by Opener Drive Type: Chain, Belt, Screw, and Jackshaft
The opener’s drive type changes the wear points completely. Here’s what to inspect based on which one is mounted on your ceiling (or wall, for a jackshaft).
Chain drive openers
- Check chain tension: it should have a small amount of slack, not be tight enough to hum or slack enough to jump the sprocket. A chain that slaps against the rail is a warning.
- Inspect the trolley and the chain’s connecting link for shine or burrs, which indicate the chain is wearing against the rail.
- Listen for a dry, rattling sound. Chain drives are noisier by design, so a change in the noise is more telling than the noise itself.
Belt drive openers
- Inspect the belt for glazing, cracking, or fraying along its length. A belt that squeaks during travel is usually dry or out of alignment.
- Check the belt tension per the manufacturer’s guidance; belts stretch slightly over time and a loose belt can slip under load.
- Feel the motor housing for excessive heat after a few cycles. Belts are quieter, so a hot motor is often the first sign something is binding.
Screw drive openers
- Inspect the screw for grease loss and debris. Screw drives need consistent lubrication on the screw itself, and a dry screw wears fast.
- Listen for a grinding or scraping sound during travel, which usually means the screw or the shuttle is dry or misaligned.
- Check that the travel limits are correct; screw drives can drift and over-travel or under-travel over years of use.
Jackshaft openers
- Inspect the wall-mounted unit’s mounting bolts, because jackshaft openers carry a lot of torque and vibration over years.
- Check the drive sprocket and the torsion bar connection for looseness or wear; a loose connection here is a serious fault.
- Verify the manual release works smoothly and that the door can be lifted and lowered by hand once released.
We work on all four drive types and carry the brand-level knowledge to know how each one behaves: LiftMaster, Chamberlain, Genie, Craftsman and others. For the brands we see most in Wheaton, from Genie screw drives to LiftMaster belt drives, the symptom is often brand-characteristic, which is why our diagnosis is faster than a generalist’s.
Age-Specific Inspection Priorities
Here’s what to watch at each stage of your system’s life. Use these as your inspection priorities and skip the rest unless something looks wrong.
Systems under 5 years old
- Lubrication: Apply a silicone-based lubricant to hinges, rollers, and the torsion spring (or extension springs) once or twice a year. Avoid heavy grease on the springs.
- Balance test: Once per season (see the dedicated section below). A newer system should balance cleanly.
- Weather seal: Check the bottom seal for compression loss, especially at the corners, and adjust or replace it if you see daylight.
- Photo-eye safety reverse test: Test monthly using a manufacturer’s test object to confirm the door reverses.
Systems 5 to 15 years old
- Cable drum set screws: With the door closed and the opener disconnected, inspect the cable drums at each end of the torsion bar and confirm the set screws are tight. This is the most commonly skipped check.
- Rollers: Look for flat spots, cracks, or worn bearings. Nylon rollers wear more gracefully than steel ones but can seize over time.
- Hinges and bearings: Inspect for rust or looseness, especially if your door faces the weather.
- Spring tension: Have a technician confirm tension. Springs do weaken gradually, and a door that feels slightly heavier is a clue.
Legacy systems over 20 years old
- Springs: At this age, replacement is often the practical answer rather than adjusting tension.
- Openers: Older Craftsman and Genie units are still serviceable, but the drive gears and logic boards are the most likely failure points. A technician can tell you whether a repair is sensible or whether a replacement is.
- Hinges, rollers, and cables: Replace any hinge with visible rust or looseness, and inspect cables closely.
- Torsion bar and bearings: Confirm both are sound. A worn bearing can mask itself as an opener problem.
If you’re unsure which bracket fits your door, a professional inspection sorts it out quickly. Our garage door spring repair work covers every age bracket, and spring replacement is one of the most common fixes we see on older Wheaton doors.
How to Test Balance Correctly (and What the Tolerance Range Means)
The standard advice, “lift the door halfway and let go,” leaves out the details that matter. A correct balance test has three steps, and the tolerance is tighter than most homeowners expect.
- Disconnect the opener. Pull the manual release cord so the door is free of the drive. The door should be closed completely.
- Lift the door to a comfortable working position, roughly halfway, and release it.
- Observe the travel. A properly balanced door should stay within about 4 to 6 inches of where you released it. If it drops more than that, or rises more than that, the system is out of balance.
What deviation means: a door that drifts down is usually carrying too much weight for its current spring tension, or the springs have weakened. A door that drifts up means the springs are too tight, which puts extra load on the opener and the cables. Either direction is a sign the system needs adjustment, and neither can be fixed by the opener. On a balanced system, the door should also open and close by hand with modest effort; if you have to fight it, it isn’t balanced.
The tolerance matters because a slightly out-of-balance door still works, so homeowners keep using it until something breaks. That’s the connection to a snapped cable or a hard-failing spring. We use the balance test as a diagnostic on every call, and we’d rather adjust tension than replace parts you don’t need. If the door resists being lifted at all, stop and call – that’s a sign the springs are nearing failure and safe handling matters.
Seasonal Adjustments for Wheaton’s Temperature Swings
Wheaton’s weather does the door no favors. Cold winters stiffen metal and change spring tension, and warm summers can soften the weather seal and loosen fasteners. The result is that a door that works fine in July may flex, stick, or bind in January. This is the seasonal pattern worth planning around.
Cold weather adjustments:
- Spring tension changes. Springs contract in the cold and can feel tighter than they did in fall. If the door suddenly feels heavier in winter, that’s normal; if it feels dramatically heavier, the springs are likely worn and near the end of their cycles.
- Weather seal compression loss. Cold weather stiffens the bottom seal so it doesn’t conform to the floor. If you get a draft or see daylight, check the seal and the floor’s contact line.
- Lubrication changes. Apply a cold-weather-friendly silicone lubricant before the first hard freeze. Heavy grease can stiffen.
- Opener travel limits. Cold can make a door travel slightly stiffly, and an opener’s force settings may need to be checked if the door reverses or stalls.
Warm weather adjustments:
- Fasteners loosen from the thermal cycling of the seasons. Look at hinges, brackets, and the opener’s mounting bolts.
- The seal may soften and lose its shape. Inspect the bottom edge after a hot spell.
- Test the safety reverse before the first summer thunderstorm season, so you know it works before you need it.
Our team sees this seasonal pattern every year across Wheaton, from the older neighborhoods near downtown to newer builds on the edge of town, and the fix is usually a small adjustment, not a big repair.
Which Tasks Are DIY-Safe and Which Ones Aren’t
Most of the checklist above is genuinely safe to do yourself if you’re careful. A few tasks are not, and we’d rather tell you plainly why they aren’t.
Safe to do yourself:
- Lubricating hinges, rollers, bearings, and springs with the right lubricant.
- Testing the photo-eye safety reverse.
- Inspecting rollers, hinges, and the bottom seal for wear.
- Checking the balance with the opener disconnected.
- Vacuuming and wiping down the door panels and tracks.
Not safe to do yourself:
- Torsion spring adjustment or replacement. A torsion spring stores a large amount of energy, and adjusting or removing one requires specific tools and training. A spring that releases unexpectedly can cause serious injury. This is the single most dangerous component on a garage door.
- Cable tensioning and replacement. Cables carry the same stored energy and can whip when released. The cable drum set screws we recommend you check are safe to inspect, but adjusting the drums or cables is not.
- Replacing the torsion bar or bearing plate. If the bar or its bearings are worn, that’s a professional job.
- Modifying the opener’s force settings. The force settings are tuned to the door’s weight, and changing them without understanding the door’s balance can cause the door to fail to reverse or to slam. Have a technician set them.
We handle spring and cable work safely on every job, and our technicians have up to 15 years of experience with these systems, so trust the professional for the high-energy parts.
Common Mistakes to Avoid
- Following a one-size checklist. A list written for a brand-new door will miss the cable drum set screws and worn rollers on an older system. Match the list to your system’s age and drive type, or you’ll spend time on the wrong parts.
- Over-lubricating with the wrong product. Heavy grease attracts grit and can stiffen in Wheaton’s cold. Use a light silicone-based lubricant and apply sparingly.
- Ignoring a slightly out-of-balance door. A door that drifts more than about 4 to 6 inches during the balance test is telling you the springs are off. Leaving it out of balance accelerates cable wear.
- Adjusting the opener’s force settings to compensate. Raising the opener’s force to push a heavy door is treating the symptom, not the cause. Fix the balance or the worn springs instead.
- Waiting for the door to fail before checking it. A cable that’s about to snap usually gives warning signs during a balance test or an inspection. Catching it early prevents a stranded car and a bigger repair.
- Forgetting the seasonal check. One quick pass before the first hard freeze and before summer saves a lot of trouble on a Wheaton door that faces the weather.
- Skipping the safety reverse test. Test the photo-eye safety reverse monthly. It’s the one function that protects your family, and it’s simple to test.
When to Call a Professional
Some situations justify a call rather than a checklist. Call a professional if the door won’t lift by hand, if you hear a loud bang or see a broken spring, if the door is crooked or binds on one side, if the opener runs but the door won’t move, or if you see a frayed or slack cable. Also call if your system is over 20 years old and you haven’t had it inspected in a while, or if you notice a set screw that looks loose on the cable drum. These are signs the system is past minor maintenance and needs a hands-on diagnosis.
Wheaton Garage Door Repair Co offers free estimates in Wheaton – call (844) 789-3469 to get one. We work on the brands you already have, including LiftMaster, Chamberlain, Genie, Clopay, Amarr, Wayne Dalton, Craftsman and Raynor, and we bring the right fix for your specific system, not a sales pitch.
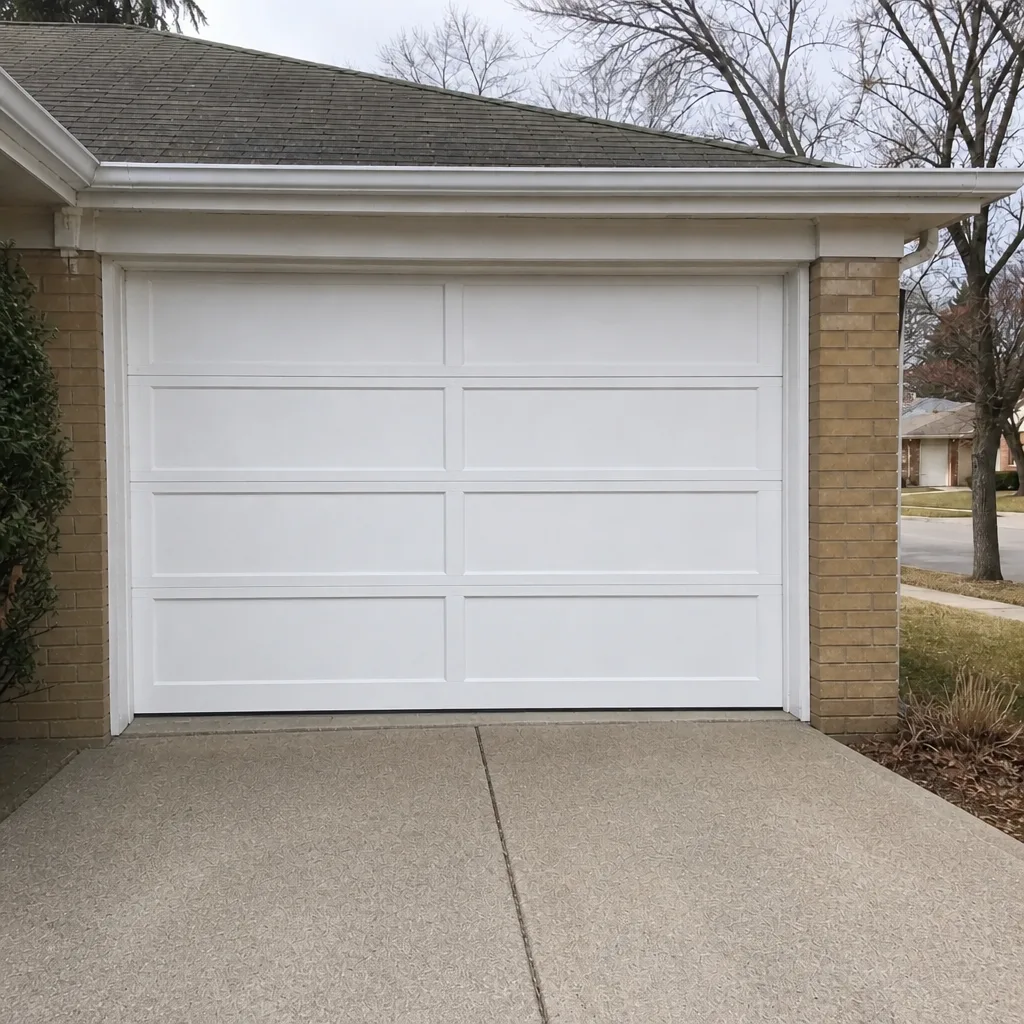
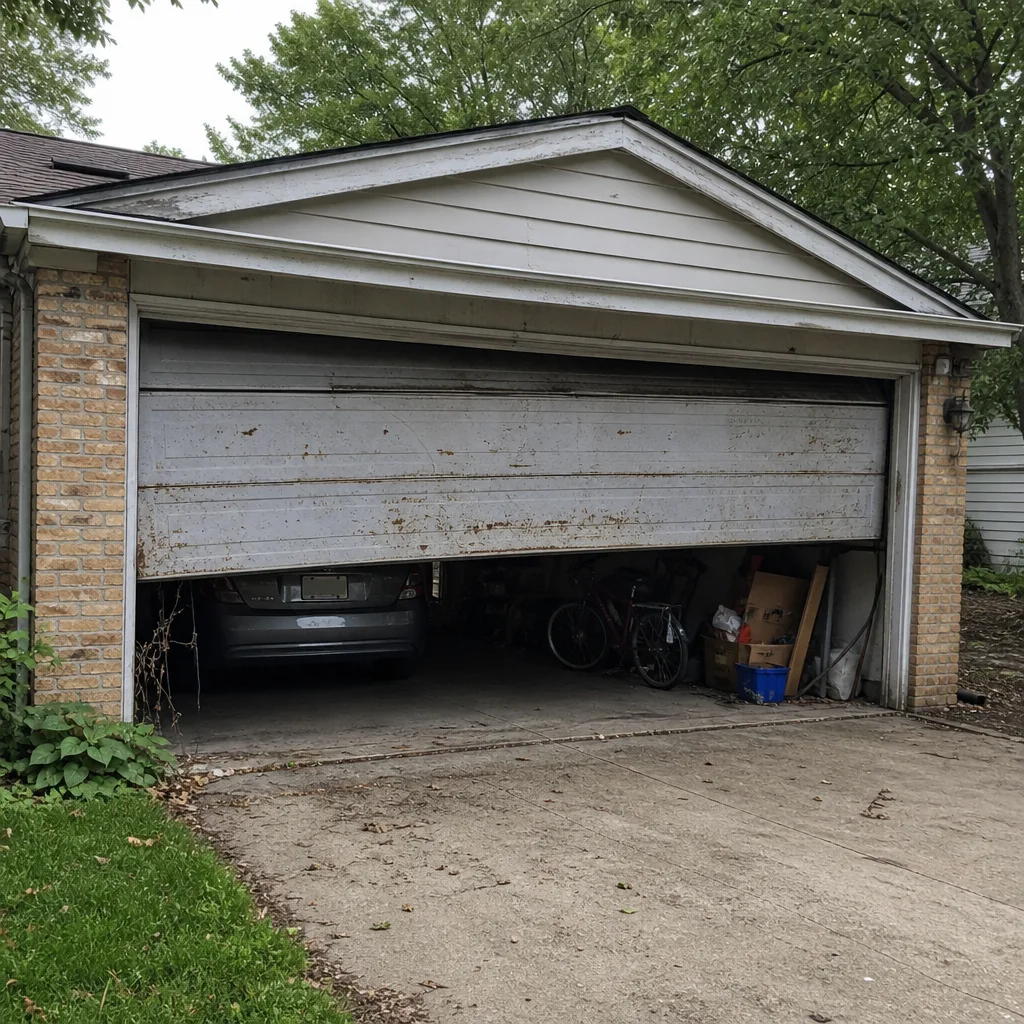
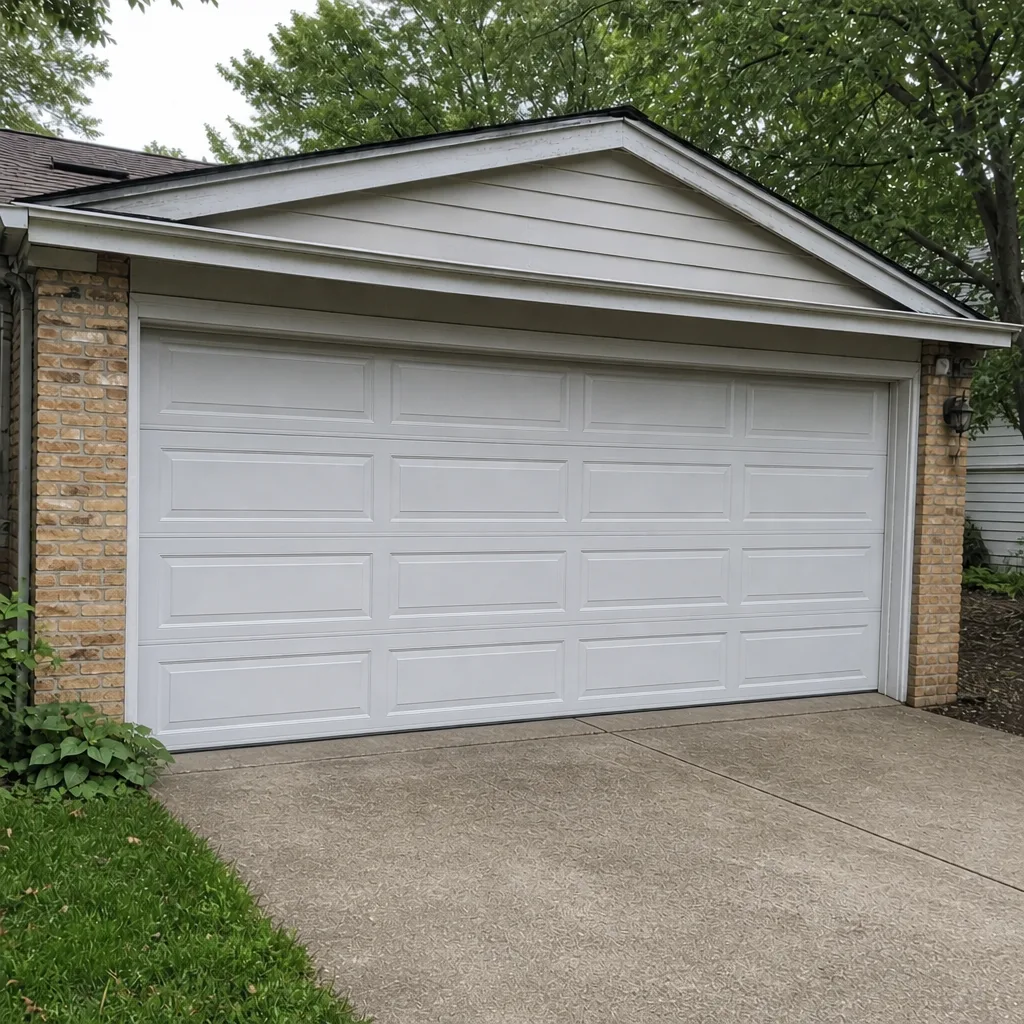
See the difference
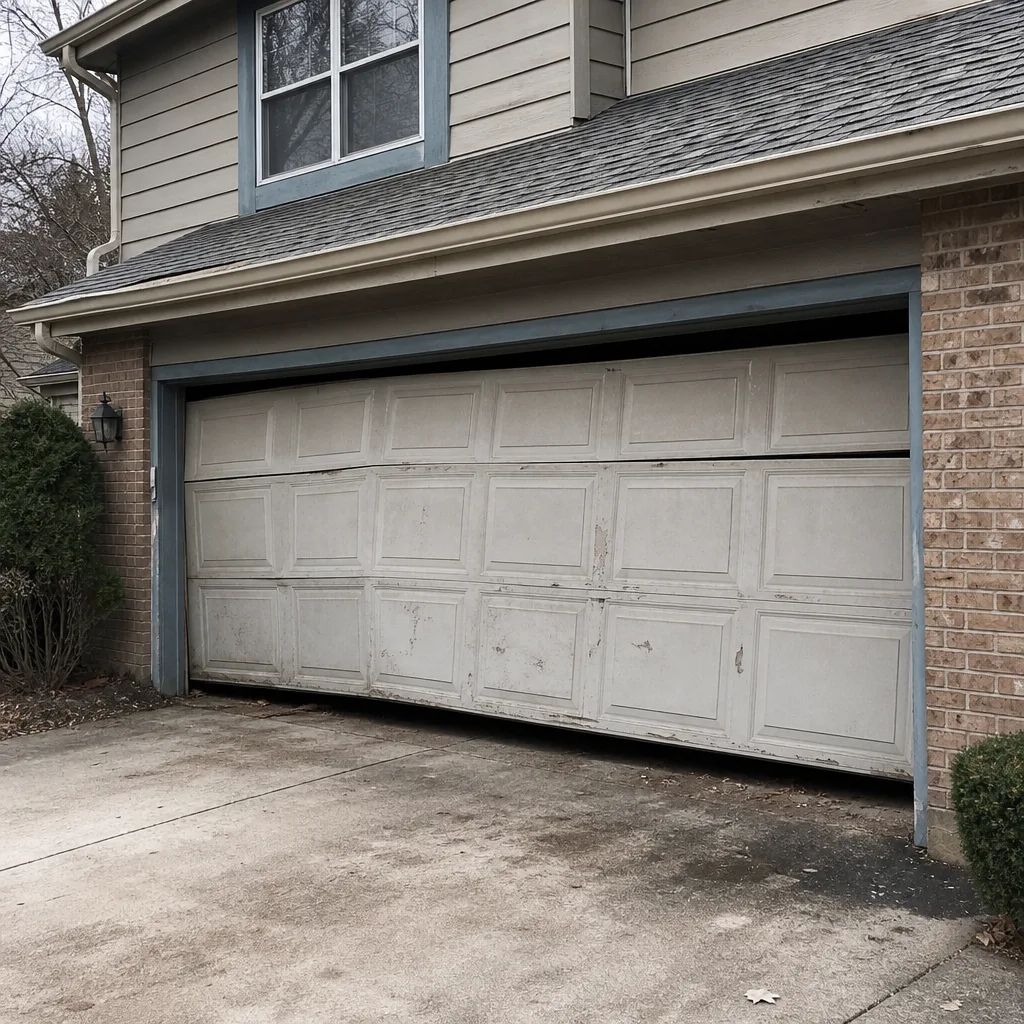 Before
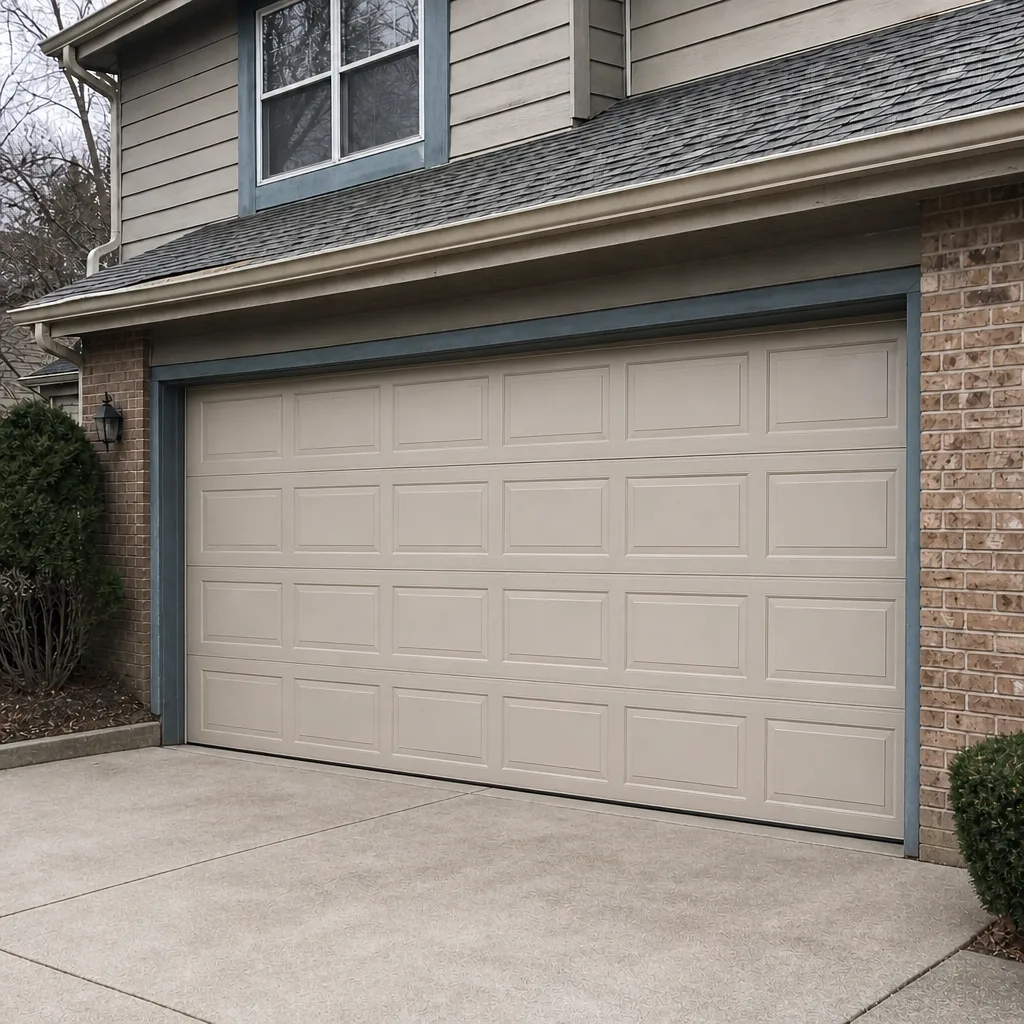 After
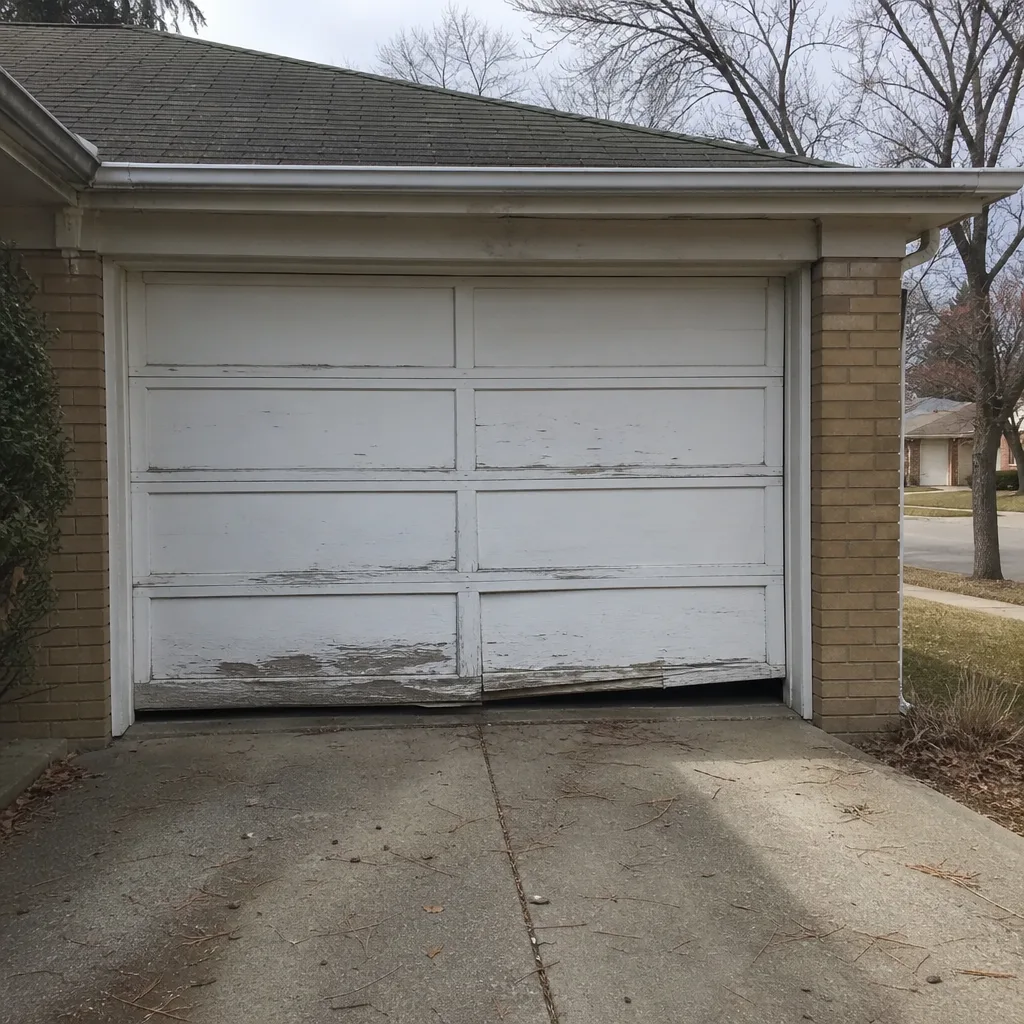 Before
 After
 Before
 After
Frequently Asked Questions
Inspect monthly for safety reverse and a quick visual, and do a full balance and lubrication check once each season. Given Wheaton’s temperature swings, the fall and spring checks are the most important, because they catch worn springs and seals before the cold and heat seasons.
No. Torsion springs store a large amount of energy, and adjusting or replacing one without proper tools and training can cause serious injury. Leave spring work to a technician; the risk isn’t worth it.
Check the opener’s label for a model and manufacture date, and look at the door panels and hardware for signs of age. If you can’t tell, the wear pattern gives it away: worn rollers and loose set screws point to mid-life, and a door that’s struggling points to an older system. A professional inspection can confirm.
It tells you whether the door’s springs are carrying the door’s weight correctly. A door that stays within about 4 to 6 inches of where you released it is balanced; one that drifts more than that needs a spring adjustment or replacement.
Chain drives need chain tension and trolley checks, belt drives need belt glazing and heat checks, screw drives need the screw lubricated, and jackshaft openers need mounting and drive-sprocket checks. The drive type changes which parts wear, so the checklist should change too.
Yes. Springs at that age are often at the end of their cycles, hinges and bearings wear, and the opener’s internals are aging too. An inspection is worthwhile even if the door still operates, because it catches the parts that would otherwise fail without warning.
The Bottom Line
A maintenance checklist is only useful if it matches the system you have. Match your inspection to your door’s age and your opener’s drive type, check the cable drum set screws on anything older than 10 years, test balance properly with the correct tolerance, and adjust for Wheaton’s seasonal temperature swings. Do the safe tasks yourself, and let a professional handle the spring and cable work where the stored energy makes the job risky. Keep up with the seasonal and monthly checks and you’ll catch the two or three failure points most likely to strand you in January, rather than chasing a generic list.
When you’re ready to hand off the high-energy jobs or get a second opinion, call Wheaton Garage Door Repair Co at (844) 789-3469 for a free estimate. We know your brand, we work on your system, and we’ll give you the right fix for what’s actually on your door.
Written by the team at Wheaton Garage Door Repair Co.